Transfer Tape Wall Decal Application
Transfer Wall Decals Application Instructions
Prior to application, make sure your wall is clean and dry.
Wipe the surface with a dry cloth or slightly damp sponge to ensure that it is free of dust or dirt.
If your wall has been recently painted, do NOT apply your wall decals.
Wait at least two weeks after painting before applying.
 Your Wall Art Design decals will arrive printed on one of more sheets and packaged in a protective plastic shell. Open the package and remove the sheets. Spread them out on a flat surface and let them sit for about an hour. Decide how you would like your design to look ,it doesn't have to match the picture.
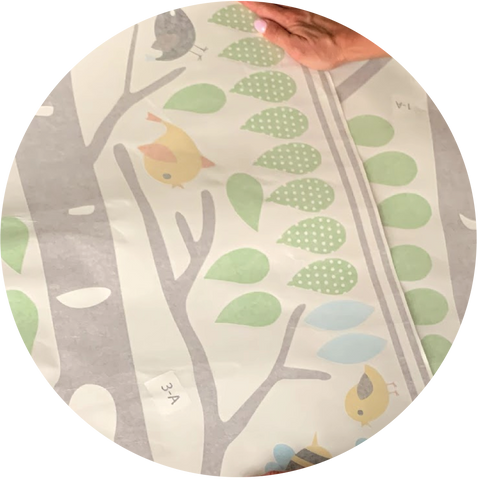
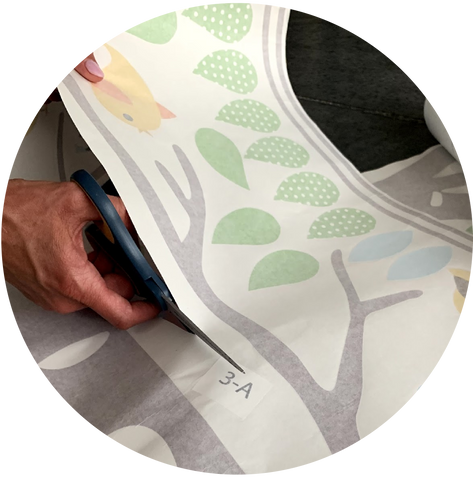
 Use a pair of scissors to cut apart the sheets so that the separate pieces can be handled individually. Cut as close to the edge of each piece as you can.
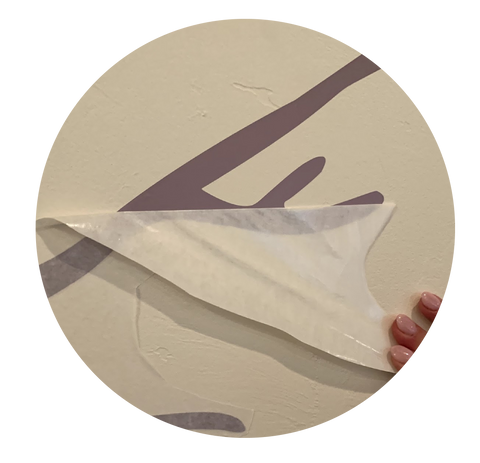
 Slowly remove the white paper backing from your first piece.
The decal should stick to the transfer tape. If it does not, re-apply the tape by placing the decal on a flat surface and smoothing it with a credit card or plastic smoothing tool. Peel the backing away again, pushing the decal to the tape as you proceed.

 Carefully apply the first piece to the wall in the desired location. The transfer tape will stick easily to the wall surface. Using a credit card or plastic smoothing tool, firmly rub the decal onto the wall. Use short motions and rub from the inside out, adhering the decal to the surface and forcing out air bubbles.

 Slowly remove the transfer tape from the decal. If the decal begins to peel away with the tape, re-apply both to the wall and use your credit card or smoothing tool to rub the decal again. Repeat with the next piece until you have assembled the entire design.
Remember: transfer wall decals cannot be repositioned after application.
 Enjoy your new wall decal!

Questions?
email jennifer@printvinylco.com or call 470.249.9922